Windows 8.1 Installation Guide
Windows 8.1 is a version of Microsoft's operating system released in October 2013 as a free update for Windows 8. This version introduced significant improvements in the user interface, including the return of the Start button and improvements in the desktop experience. Although it no longer receives regular security updates, it is still a functional operating system for certain uses.
Windows 8.1 reached the end of its extended support on January 10, 2023. Microsoft no longer provides security updates for this operating system. It is recommended to upgrade to a newer version of Windows for better security.
System Requirements for Windows 8.1
- Processor: 1 GHz or faster CPU with PAE, NX, and SSE2 support
- RAM: 1 GB (32-bit) or 2 GB (64-bit)
- Disk Space: 16 GB (32-bit) or 20 GB (64-bit)
- Graphics: DirectX 9 graphics device with WDDM 1.0 or higher driver
- Display: Minimum resolution of 1024×768
- Installation Media: 4GB or larger USB, or DVD
Follow these 17 detailed steps to install Windows 8.1 on your computer. Each step includes a reference image that you can enlarge by clicking on it.
Select Operating System Preferences
Choose the language, time, currency format, and keyboard or input method you prefer. In this case, we will select Spanish.
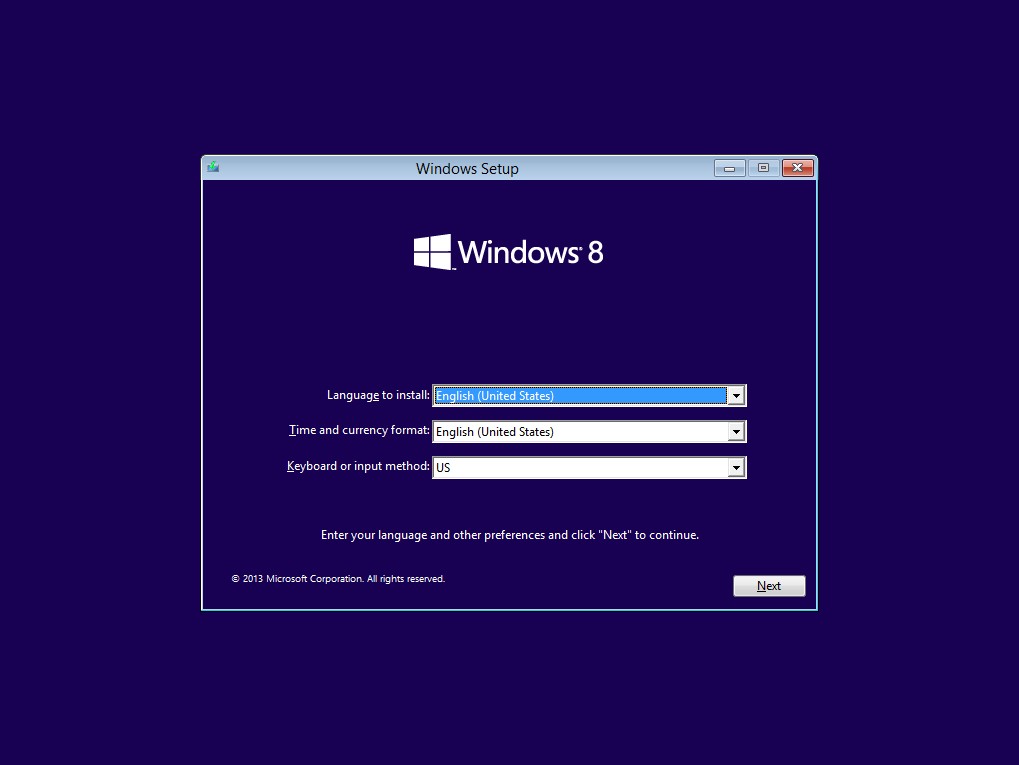
Click the image to enlarge
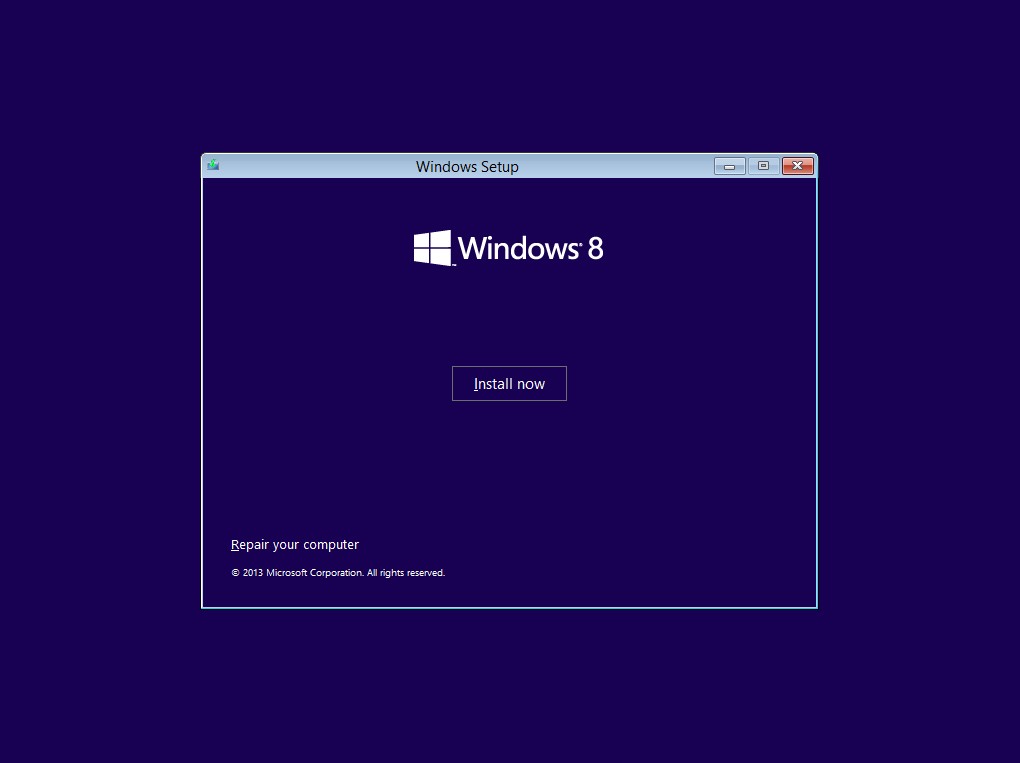
Start Installation Setup
Once the preferences screen loads, click on the button that says "Install Now" to proceed with the installation.
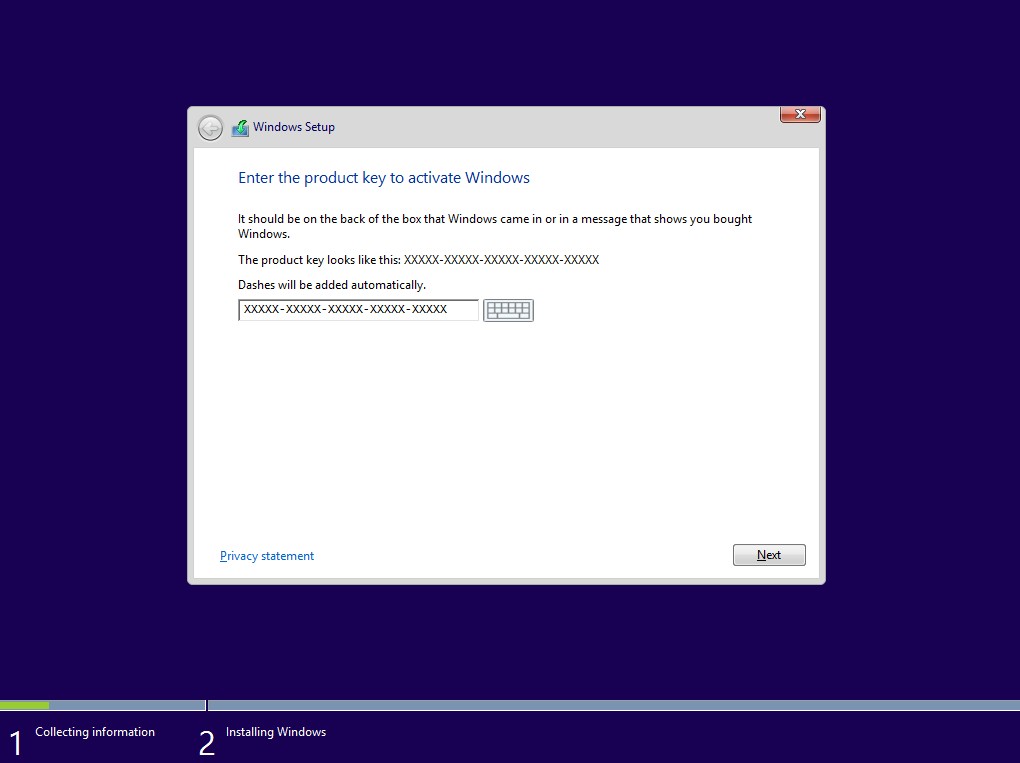
Product Key for Activation/Installation
Enter your product key if you have one. If not, you can use one of these generic keys (for installation only, does not activate the system):
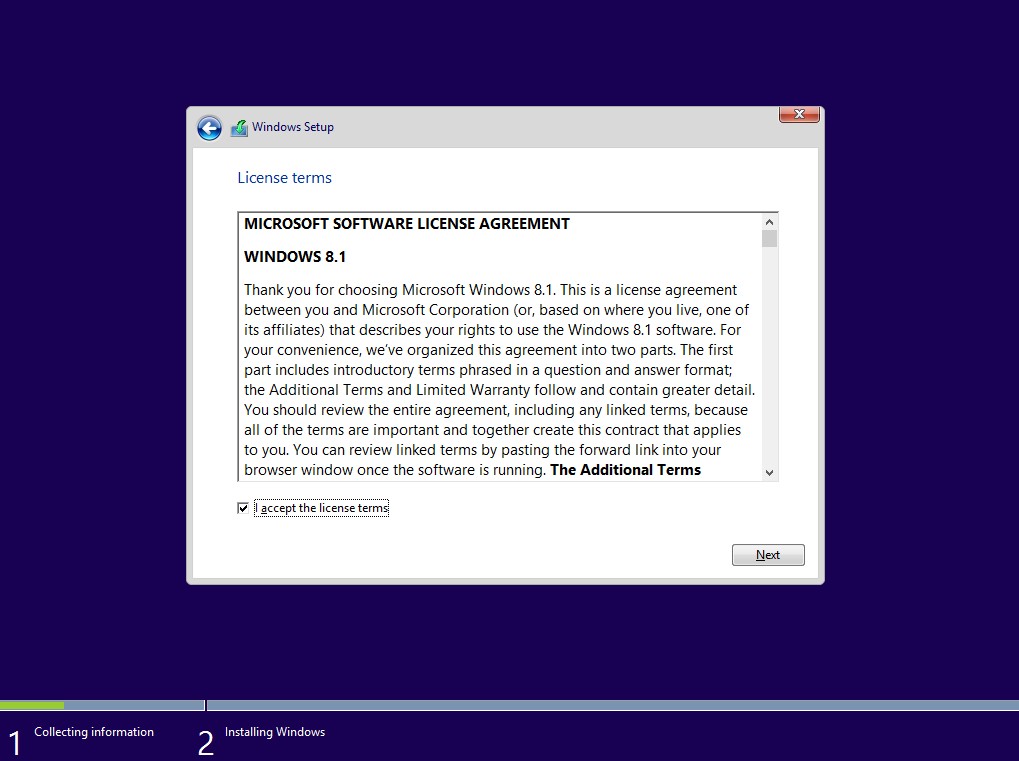
Windows 8.1 License Agreement
Read and accept Microsoft's license terms by checking the corresponding box. Click "Next" to continue.
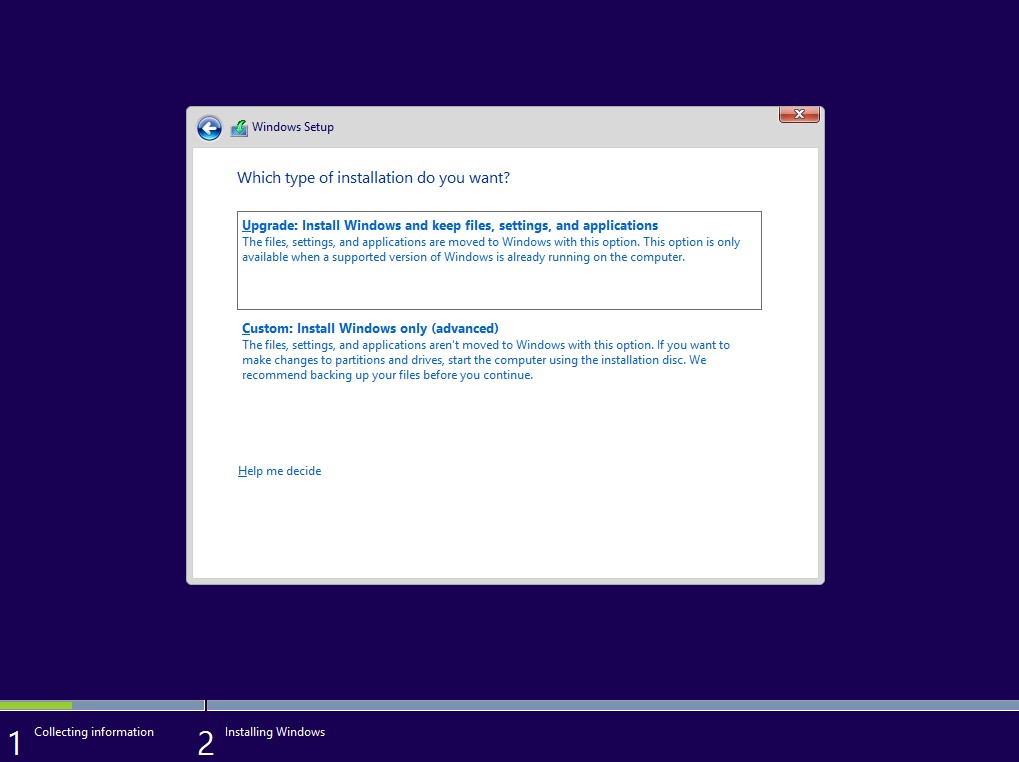
Installation Type
Select "Custom: Install Windows only (advanced)" for a clean installation. If you're upgrading from a previous version, select "Upgrade".
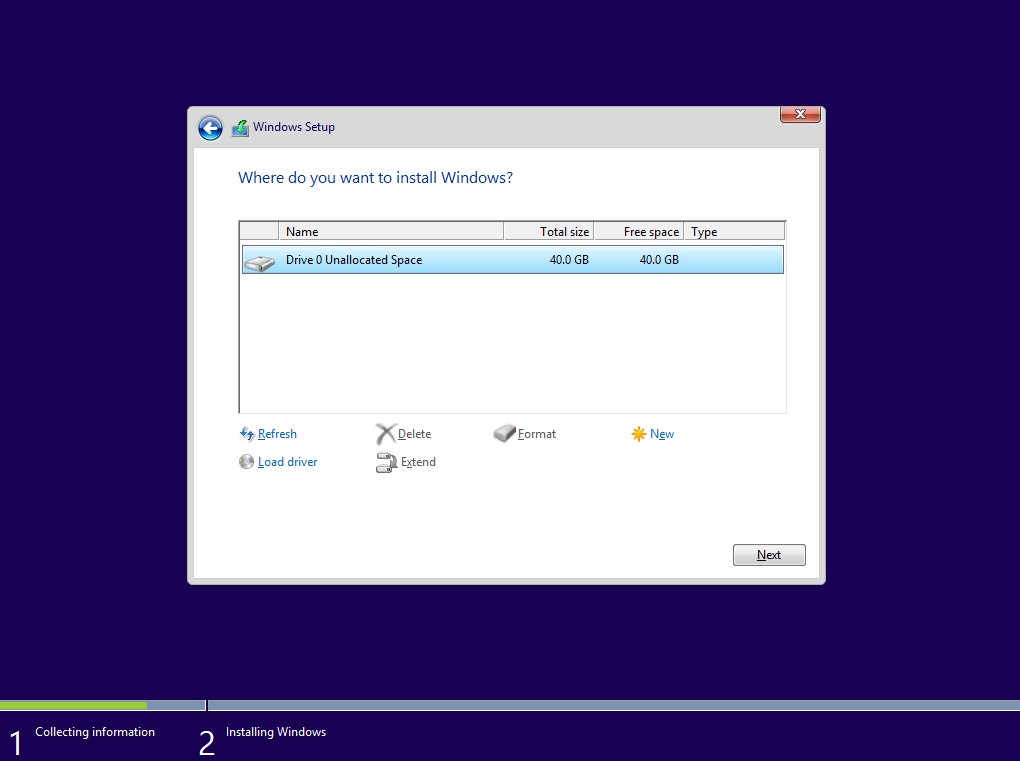
Select Partition
Select the partition where you want to install Windows. If it is a new disk, you will need to create a partition. You can use the options "New", "Format", or "Delete" according to your needs.
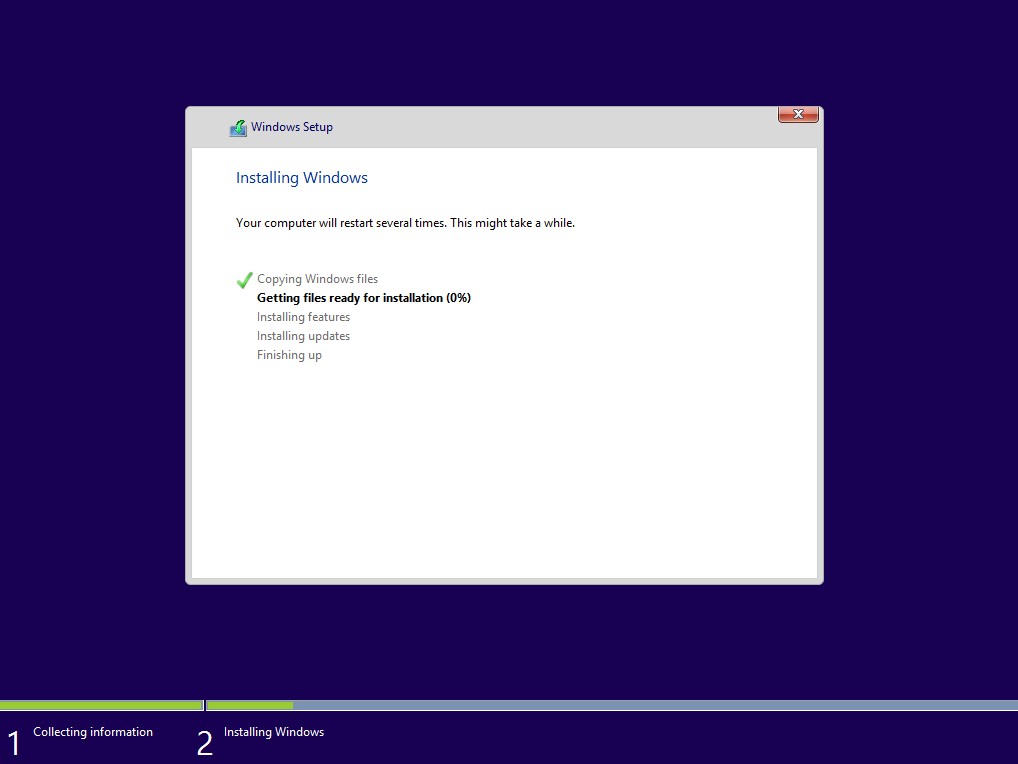
Start Installation
Once the partition is selected, click "Next" to begin the installation. Windows will copy files, install features, updates, and complete the installation.
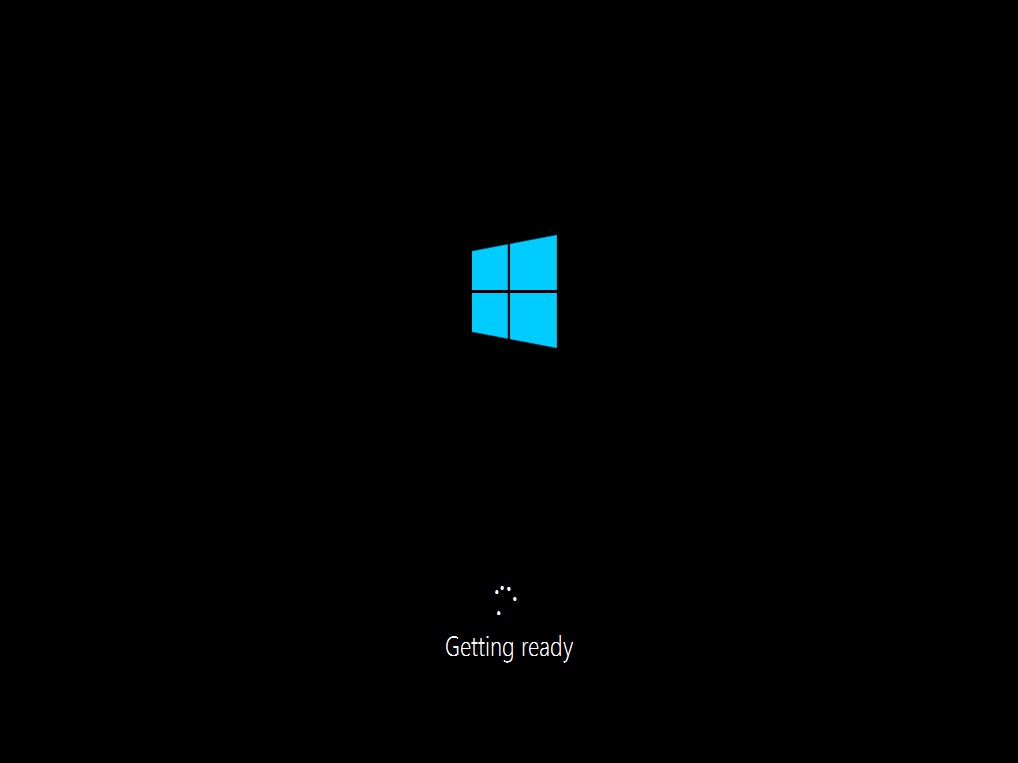
Installation
The computer will automatically restart during the process. If a message appears asking you to press a key to boot from the installation media, do not press anything to allow the system to boot from the hard drive.
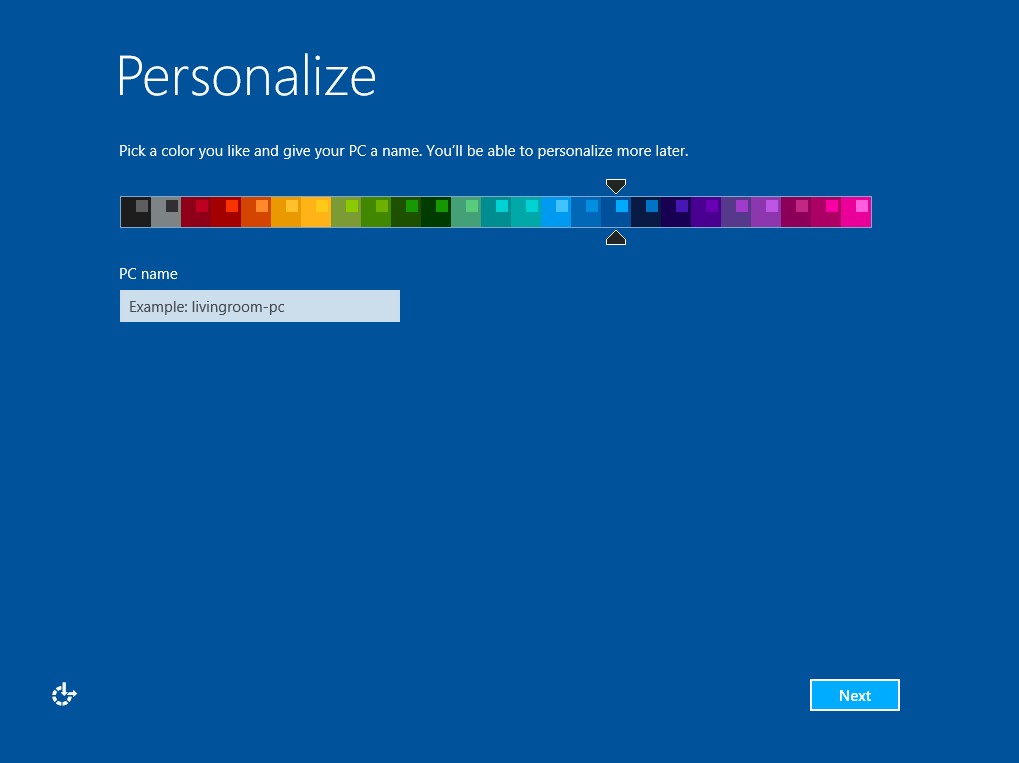
Custom Setup
After the restart, choose a color for the interface and assign a name to your computer. Click "Next" to continue.
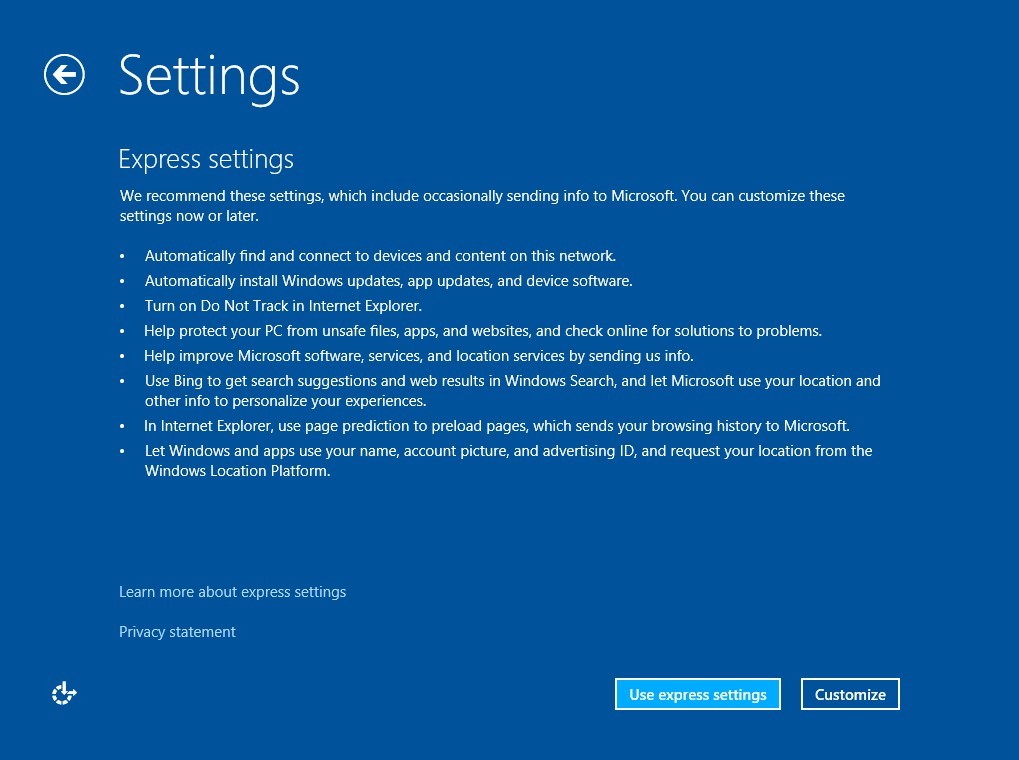
Quick/Custom Setup
If you prefer to manually adjust privacy and update options, select 'Customize'. If you prefer, you can also opt for the 'Use quick settings' option to accept the default values.
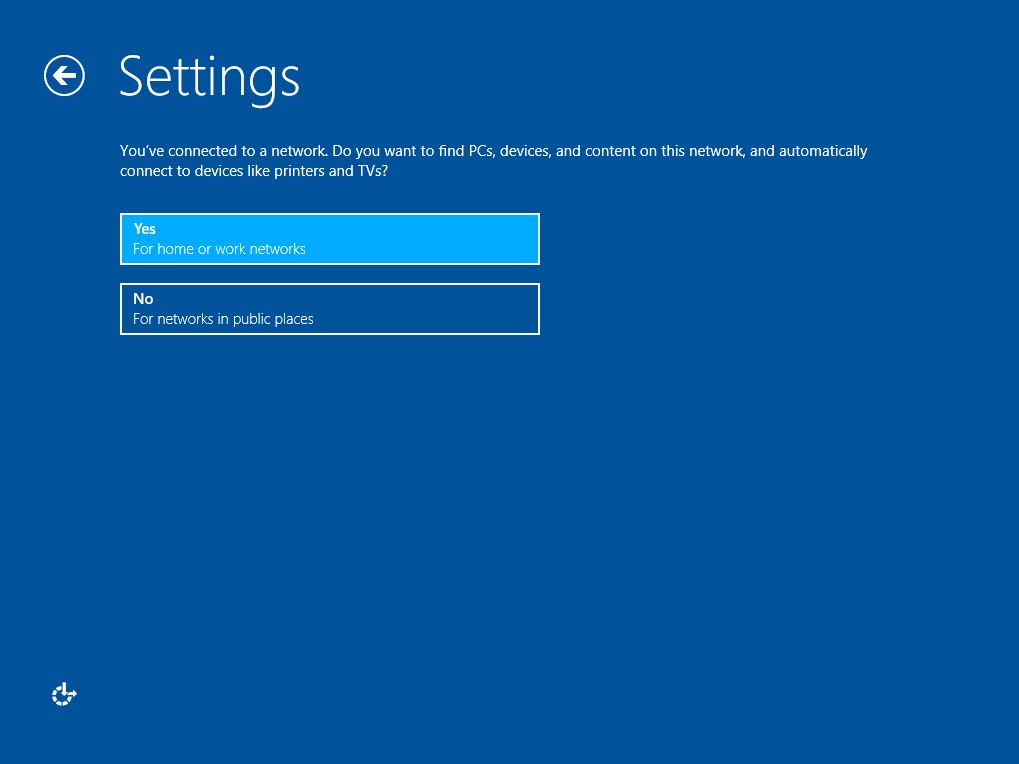
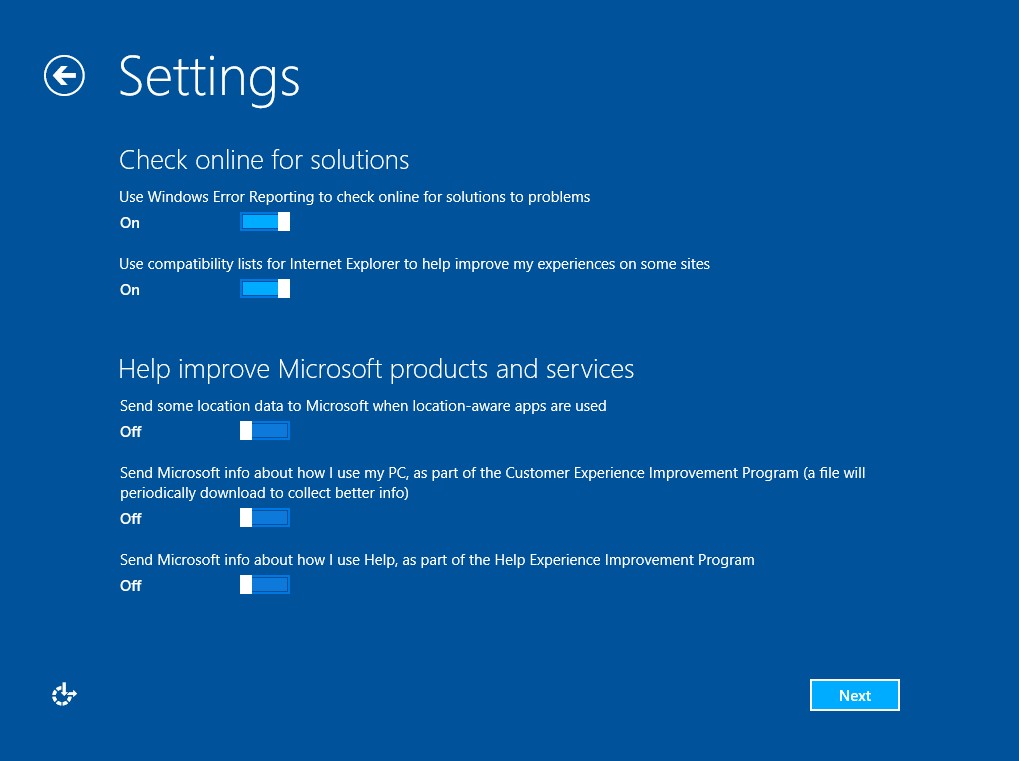
Quick/Custom Setup
Manually adjust the options you want to enable or disable according to your preference. (In the case of the example, all are enabled).
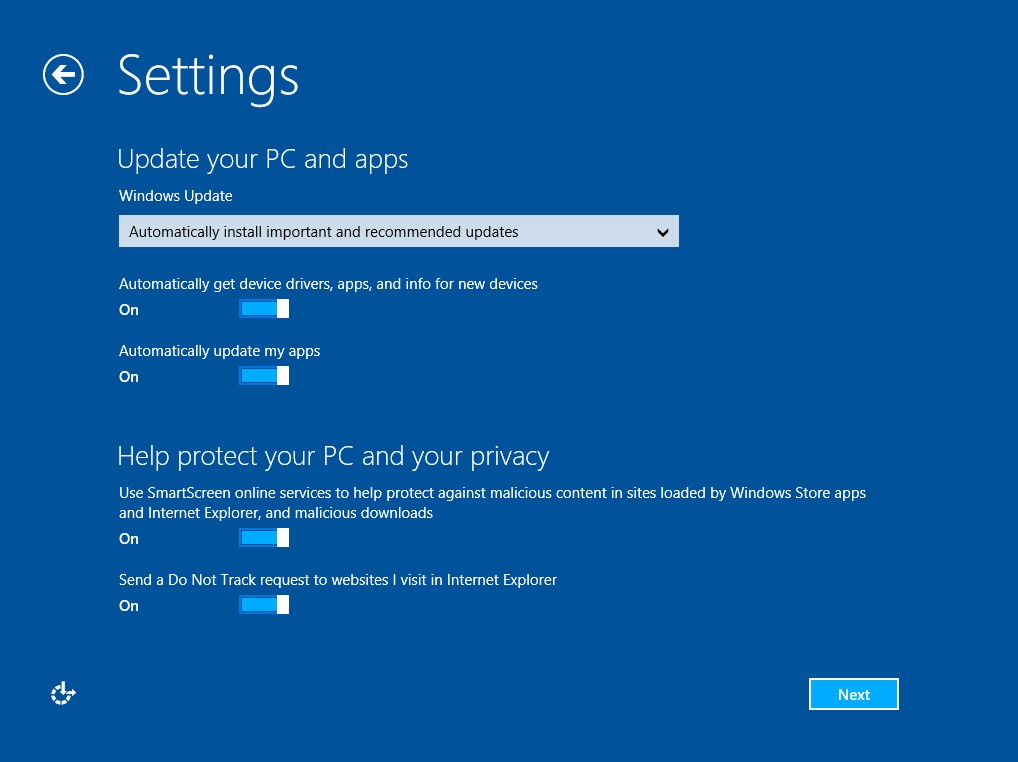
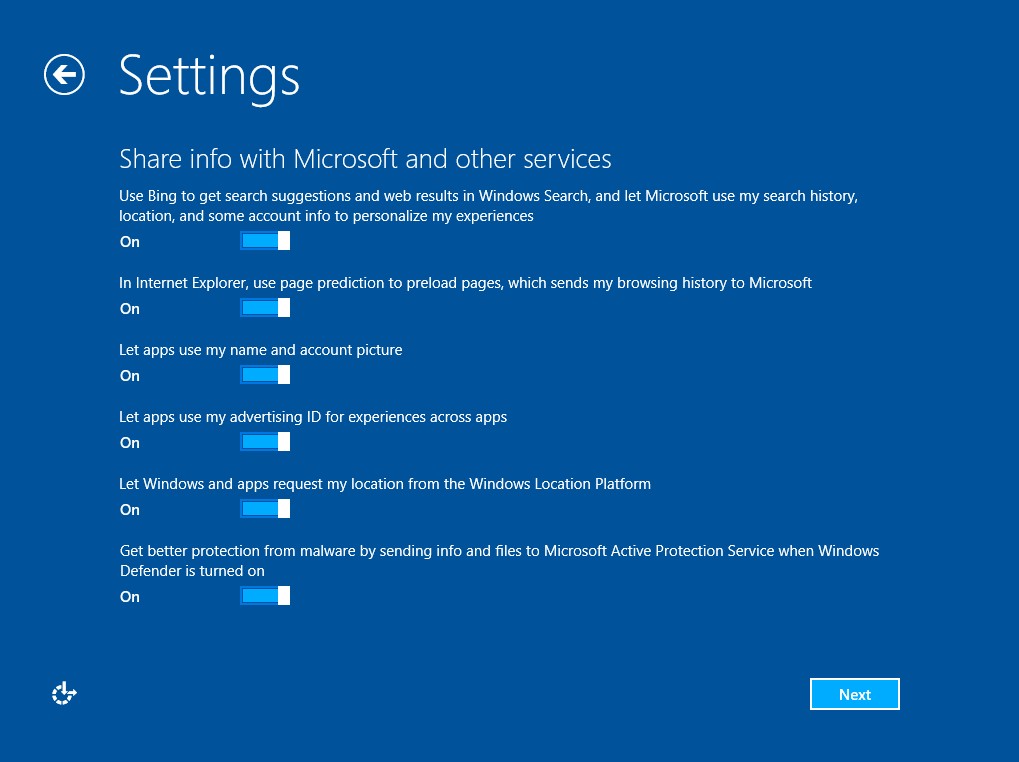
Quick/Custom Setup
Manually adjust the options you want to enable or disable according to your preference. (In the case of the example, all are enabled).
Quick/Custom Setup
Manually adjust the options you want to enable or disable according to your preference. (In the case of the example, all are enabled).
Quick/Custom Setup
Manually adjust the options you want to enable or disable according to your preference. (In the case of the example, all are enabled).
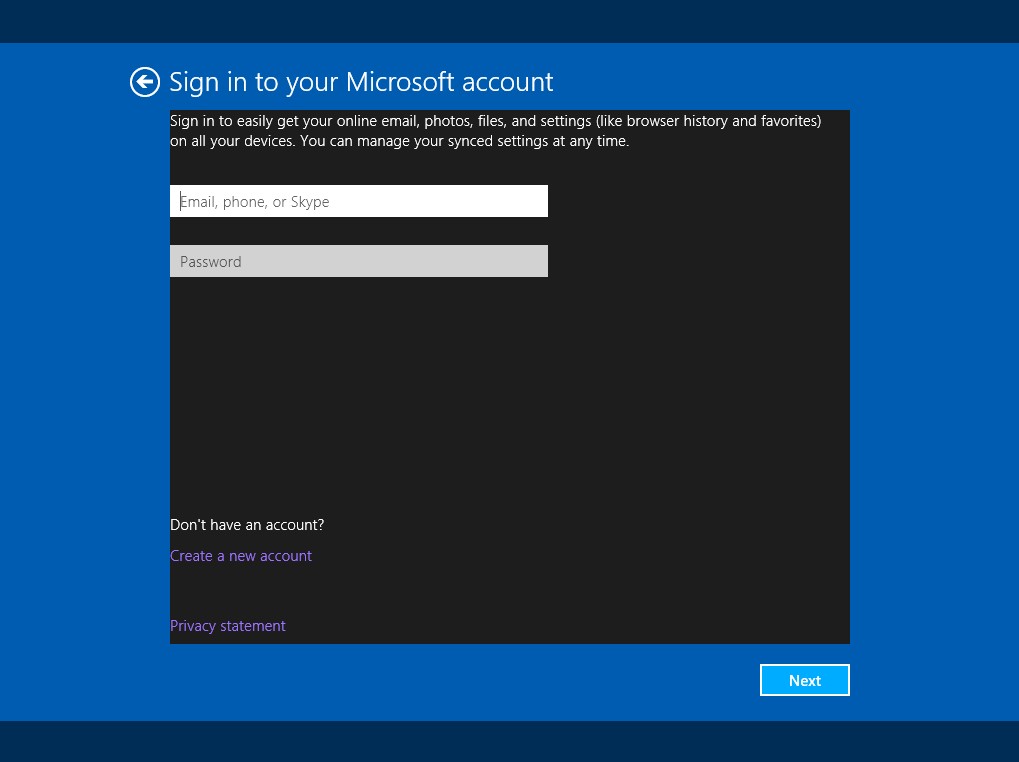
Sign in with Microsoft account
Enter your Microsoft account (such as @outlook.com or @hotmail.com) and password. If you prefer a local account, click on "Create a new account" and then "Sign in without a Microsoft account."
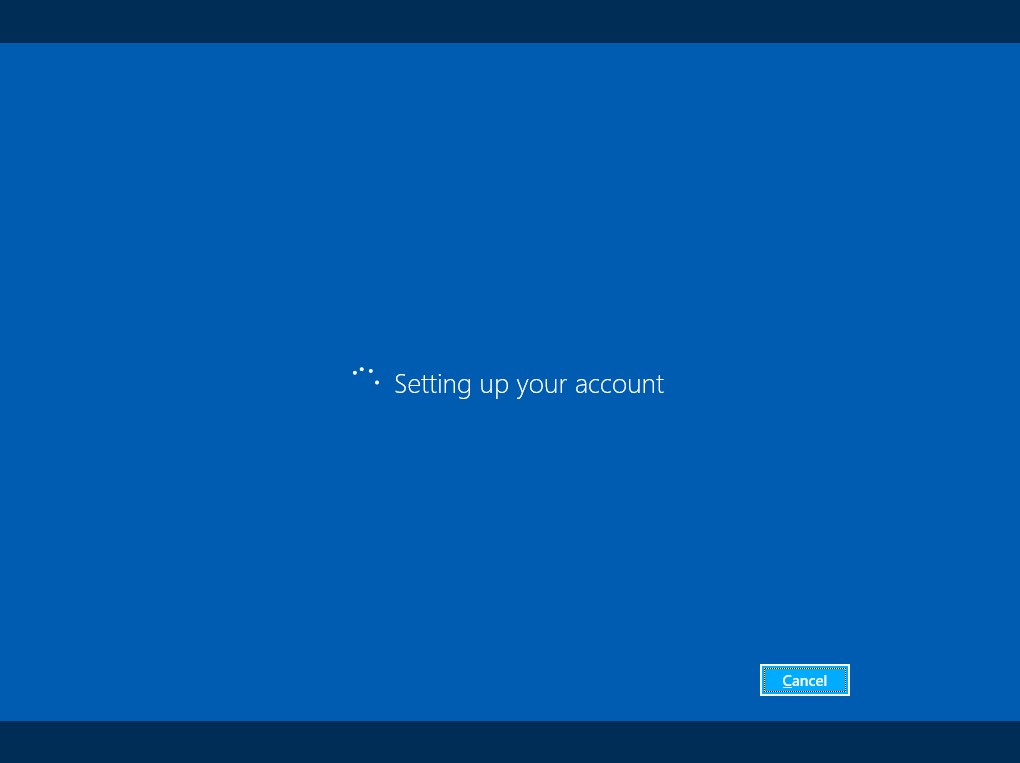
Stting Account
Windows will sign in to our computer with the credentials we provided in the previous step.
Windows Installed and Ready to Use
Now you can enjoy your Windows 8.1 or customize it by installing apps, changing settings, and adjusting the appearance. Explore features of Windows 8.1, such as the improved Start menu and Modern UI apps.
After installing Windows 8.1, consider installing antivirus software, setting up a backup solution, and personalizing the Start screen to your preferences. You can also enable the classic Start button using third-party tools if you miss the traditional interface.